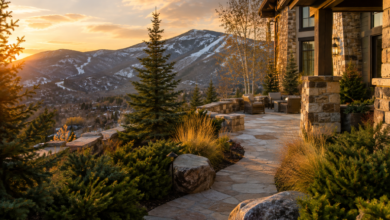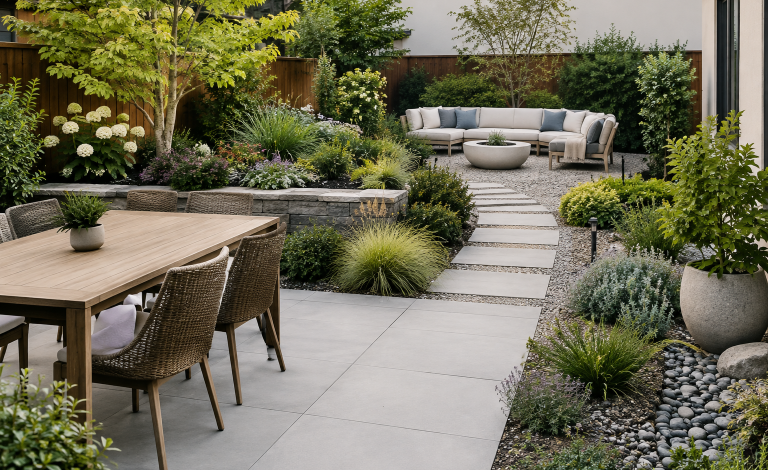
A backyard should support ordinary life as well as special occasions. Whether the goal is a quiet morning seat, a dependable dining patio, a garden, or a compact water feature designed by experienced plunge pool builders, the strongest designs begin with how the property actually performs in changing weather. Planning for all four seasons helps prevent a common problem: creating a space that looks inviting for a few summer weekends but feels too wet, exposed, hot, dark, or difficult to maintain the rest of the year. A practical plan considers comfort, drainage, circulation, planting, safety, and the time available for upkeep.
Why Four-Season Planning Works Better
A successful outdoor space is not defined by the number of features it contains. It is defined by whether people can use it comfortably and safely. Summer sun, autumn leaves, winter freeze-thaw conditions, spring rain, and seasonal wind can all affect where seating belongs, which surfaces make sense, and how plants perform. Good planning also makes a yard more flexible. A patio can support weekday dinners and larger gatherings when it has clear access, enough room around furniture, and nearby lighting. A planted border can add privacy while softening hardscape edges. The goal is to make each element serve more than one purpose.
See also: Questions to Ask Before Starting Opioid Use Disorder Treatment in San Diego, California
Step One: Study The Property Before Choosing Features
Start with the site, not a wish list. Observe the yard in the morning, afternoon, and evening. Mark areas that receive strong sun, deep shade, gusty wind, standing water, or runoff after a storm. Note slopes, mature trees, exposed roots, compacted soil, views to preserve, and privacy concerns to address.
Simple Site-Study Checklist
- Sketch the house, property lines, existing trees, utilities, paths, and structures.
- Mark sunny, shaded, wet, dry, windy, and sheltered sections of the yard.
- Identify the routes used most often between the house, driveway, patio, garden, and storage.
- List problems, such as poor drainage or difficult access, that should be solved before decorative work begins.
Step Two: Divide The Backyard Into Useful Zones
Zones give the landscape structure without making it feel rigid. A gathering zone may include a patio, dining set, or fire feature. A quiet zone can be a shaded bench or reading corner away from the busiest route. Cooking areas work best when they have a clear connection to the house but do not block circulation. Reserve a green zone for trees, planting beds, herbs, or pollinator-friendly flowers. A service zone should house tools, bins, firewood, and equipment without dominating the main view. In a compact yard, a small dining patio can sit beside a planted edge, with a simple walkway linking the house and gate. Clear movement often makes a small space feel more generous.
Step Three: Choose Materials That Suit The Local Climate
Materials affect comfort, safety, appearance, and future repair needs. Textured paving can provide better footing than a slick finish in wet conditions. Dark paving and unshaded decking can become uncomfortable in strong sun. In places with freezing temperatures, patios, walls, and steps need construction details that account for moisture and freeze-thaw movement. Compare the full life of each material, not only its initial cost. Consider cleaning, stain resistance, replacement options, traction, heat, and how easily a damaged section can be repaired. Durable, straightforward materials are often a better fit for paths, steps, and other high-traffic areas.
Step Four: Build A Planting Plan With Year-Round Interest
Layered planting keeps a yard visually useful beyond peak flowering season. Evergreen plants can provide structure and winter screening. Deciduous trees and shrubs can offer shade, changing foliage, and seasonal character. Ground covers, grasses, perennials, shrubs, and small trees create variety when they are given adequate space to mature. Choose plants for the conditions they will actually experience. The USDA Plant Hardiness Zone Map helps gardeners identify plants likely to tolerate local winter minimum temperatures. Still, it should not replace attention to soil, moisture, drainage, light, and wind exposure. Group plants with similar needs to simplify watering and care.
Step Five: Manage Rainwater Before It Becomes A Problem
Drainage should be part of the original layout. Water should move away from the home, not collect beside foundations, steps, or heavily used paths. Grading, downspout planning, planted swales, drainage beds, and suitable permeable surfaces can help slow, direct, or absorb runoff where site conditions allow. When considering ways to keep rainfall closer to where it lands, green infrastructure practices can inform choices such as rain gardens and vegetated drainage areas. Keep intended overflow routes clear, and avoid directing concentrated runoff toward neighboring property.
Step Six: Add Comfort Features For More Months Of Use
Comfort features often deliver more value than extra decoration. Shade trees, pergolas, umbrellas, and covered structures can make hot afternoons more pleasant. Screens, fences, and carefully placed planting can reduce wind and improve privacy. Seating should be positioned near warmth or shade when needed, while leaving paths open and views intact. Select outdoor furniture that suits the available storage. Weather-resistant cushions are useful, but only when they can be easily protected or stored. Choose surfaces that remain practical in the conditions the yard faces most often.
Step Seven: Plan Lighting For Safety And Atmosphere
Light steps, grade changes, gates, and primary walkways first. Then add softer light for dining and seating areas. Carefully aimed fixtures can highlight a tree, wall, or planting bed without creating glare in windows or shining into neighboring spaces. Timers and controls can make outdoor lighting easier to manage.
Step Eight: Match The Design To The Maintenance Budget
Before finalizing the plan, consider the work required on a weekly, monthly, and seasonal basis. Leave room to mow, mulch, prune, clean, and access repairs. Use durable surfaces where foot traffic is concentrated, group plants by care needs, and include convenient storage for tools, cushions, toys, and seasonal equipment.
Common Planning Mistakes To Avoid
- Choosing plants before checking sun, soil, drainage, and mature size.
- Installing a patio in a low area without addressing standing water.
- Adding features without a clear route between them.
- Using slippery surfaces near steps, water, or frequently wet areas.
- Forgetting where snow, leaves, roof runoff, and garden debris will go.
- Creating a landscape that requires more time or expense than the household can sustain.
Conclusion
The best backyard plans are designed to complement both the property and the people who use it every day. Start by evaluating site conditions, including sunlight, soil quality, slopes, existing vegetation, and natural water flow, before deciding where to place patios, seating areas, planting beds, or other outdoor features. Address drainage early, create purposeful zones for relaxing, dining, entertaining, and everyday activities, and select plants and materials that suit the local climate and available maintenance budget. It is also important to consider shade, lighting, storage, and accessibility to ensure the space remains practical in different weather conditions. With thoughtful planning and the right design choices, a backyard can remain comfortable, functional, attractive, and easier to maintain and enjoy throughout the year.